
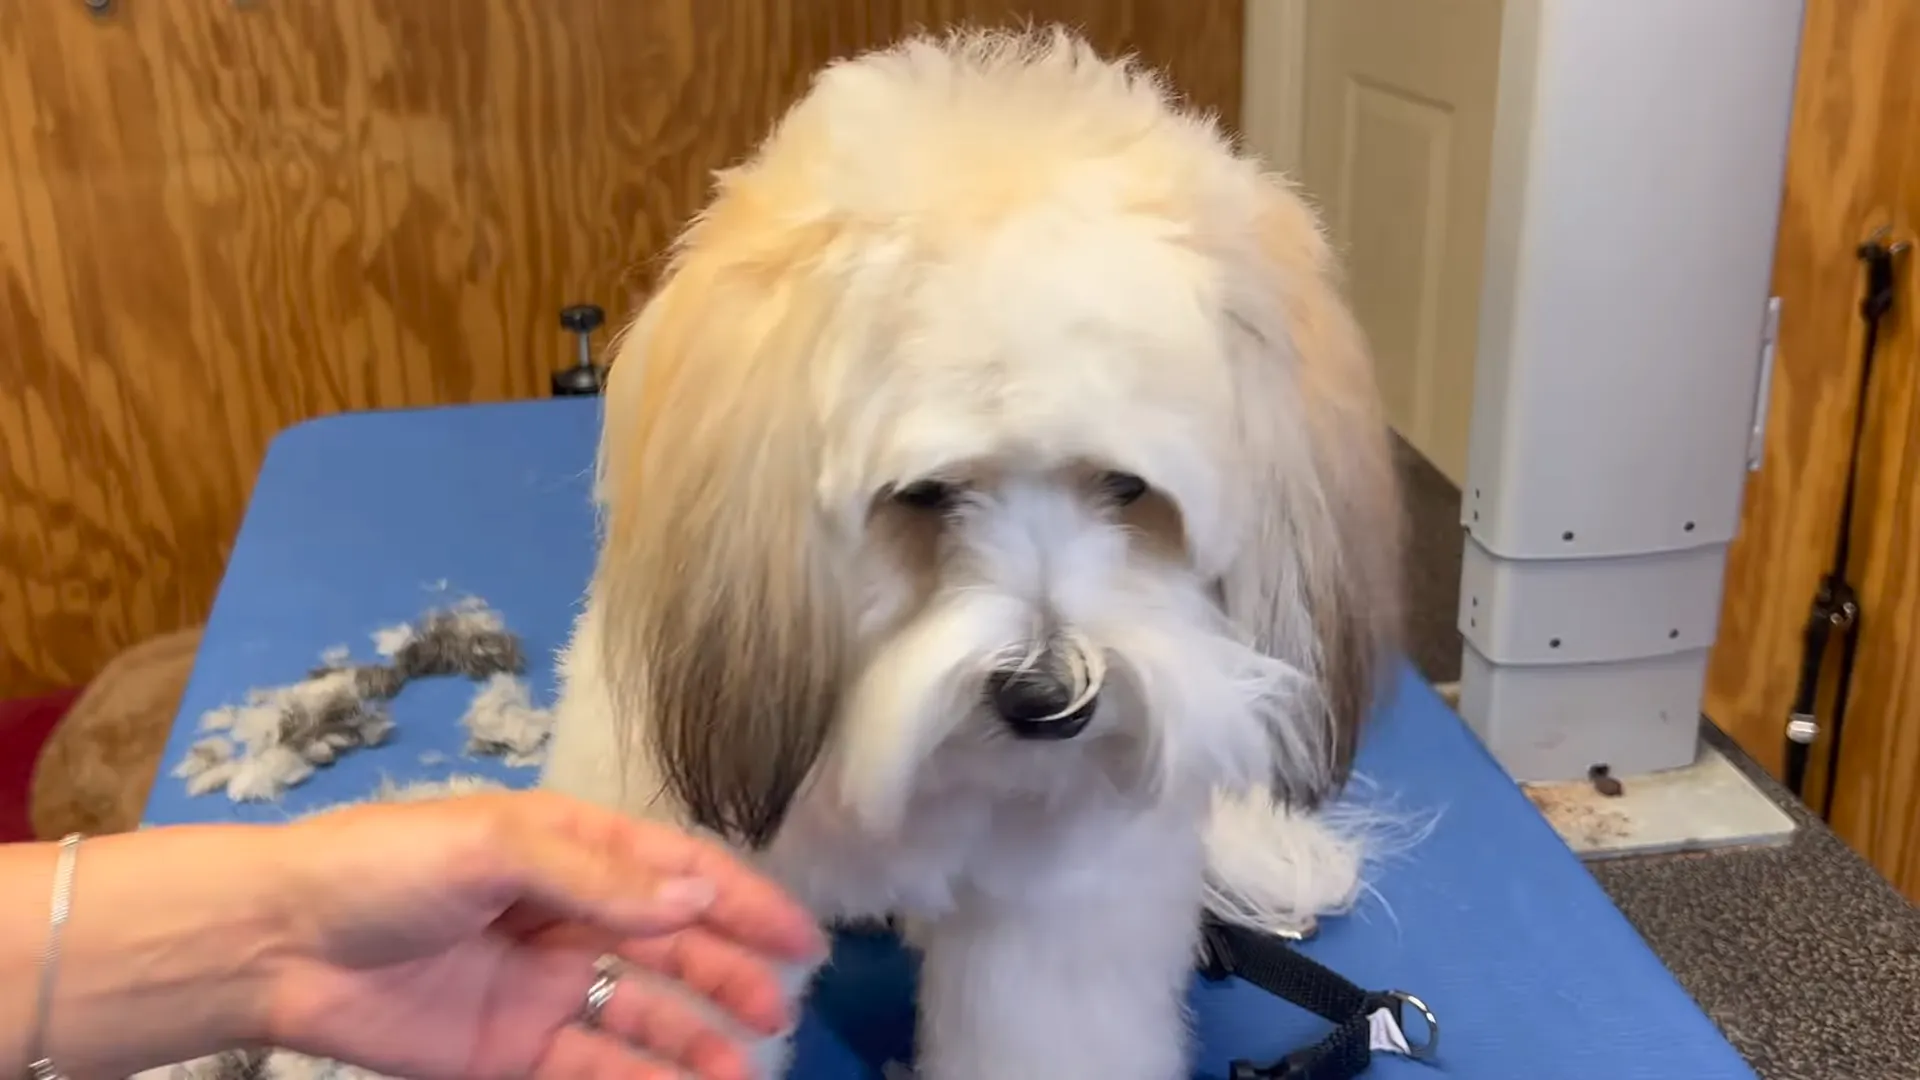
Alright fellow dog lovers! 👋
Ever looked at your adorable pup and thought, “Hmm, that fluffy face could use a little tidy-up?” 🐶
You’re not alone!
Many of us pet parents want to keep our furry friends looking their best, and sometimes that involves a bit of at-home grooming.
Today, we’re diving into the world of trimming your puppy’s face and head, blending it seamlessly with their body trim.
In order to do this, we’re reviewing the very helpful video from Go Groomer on YouTube (video at the bottom of this article).
It might sound a little daunting at first, but trust me, with the right approach, you can achieve a fantastic look for your beloved companion.
So, grab a comfy seat, maybe even with your pup by your side, and let’s get started on this grooming adventure! 🐾
Setting the Foundation: The Neckline
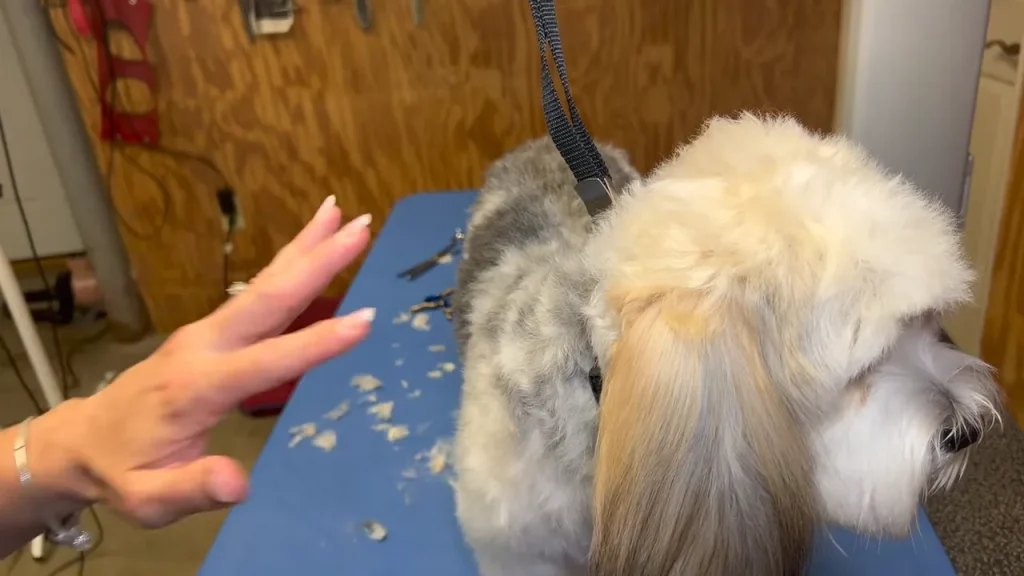
Let’s begin by establishing a nice, clean neckline for your puppy.
Think of it as the starting point for our masterpiece!
Using a one-inch comb attachment on your clippers, gently tilt your puppy’s head down.
This will help you see their natural neckline more clearly.
Now, here’s a little trick: comb all the way up in the reverse direction of hair growth.
This technique might seem counterintuitive, but because we’re leaving a good amount of length with the one-inch comb, it’s perfectly safe and won’t affect the hair follicle.
You might be wondering, “Can I really go in reverse?” 🤔
Yes, you absolutely can with guard combs, as long as they aren’t too short.
We’re just setting the stage here, creating a consistent length that we can then refine with scissors.
This initial clipper work makes the scissor work much easier down the line… trust me! 😉
Defining the Visor Area
Next up, let’s focus on the hair right above those adorable puppy eyes – the visor area. Grab that same one-inch comb we used for the neckline.
Now, come straight over your puppy’s visor, just above their ears.
The goal here isn’t to take off a lot of hair; in fact, we’re barely taking anything at this stage. What we are doing is setting an even length.
This consistent length will act as a guide when we move on to the scissor work.
Think of it like sketching the outline of a drawing before you add all the details.
It ensures that both sides are even and balanced, giving your pup a neat and tidy appearance.
Plus, it makes the next steps so much smoother! ✨
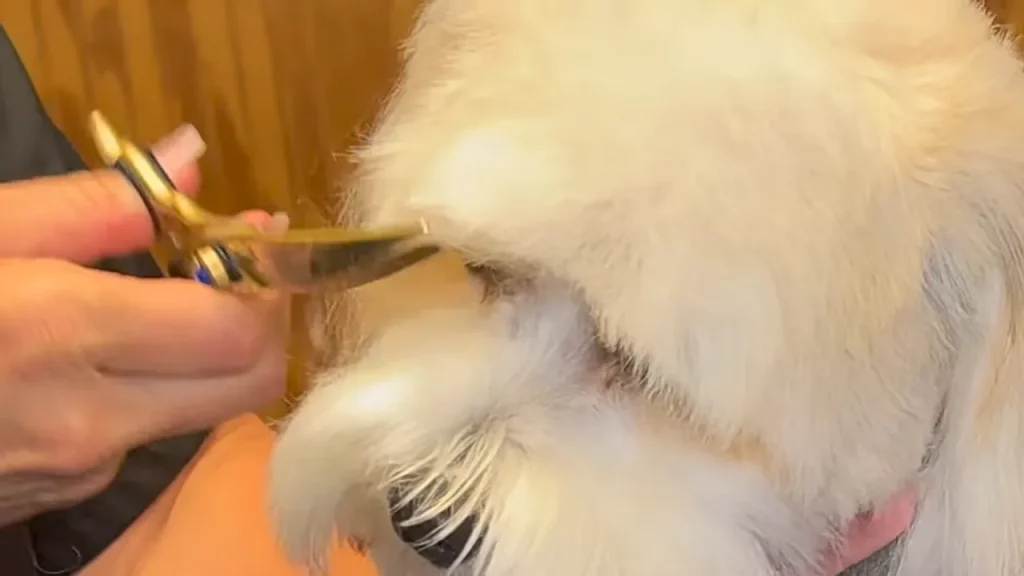
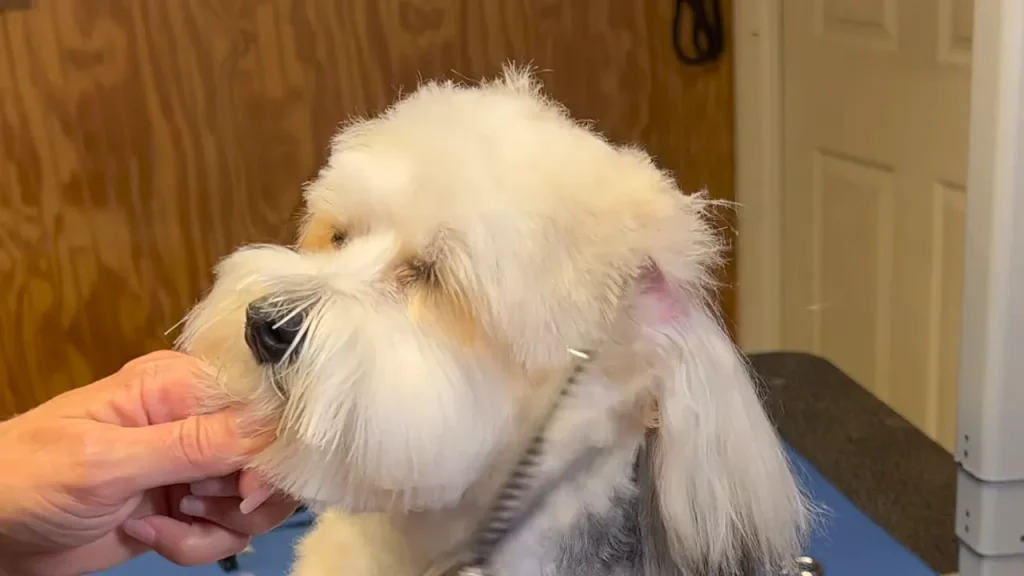
Tackling the Corner of the Eye
Now, let’s talk about a little area that can sometimes get a bit gunky – the corner of your puppy’s eyes.
Using a #10 blade on your clippers, gently hold your puppy’s eye back.
Then, just use the corner of the blade to carefully clean out any build-up in the corner of their eye.
We’re not going deep here; we’re just tidying up this sensitive area.
This is a spot where things can get a little tighter than we might want with scissors, so a quick touch with the corner of the blade can make a big difference.
Remember to be extra gentle around your puppy’s eyes – safety first! ❤️
The Art of Scissor Blending
Alright, now for the fun part – scissor work!
This is where we really start to blend everything together and give your puppy that polished look.
If you’re not feeling completely confident with scissors around your pup’s face, especially near their eyes, remember that you can always do more with the #10 blade if needed.
However, for a truly blended look, scissors are your best friend. We’re going to start by outlining the hair around your puppy’s eyes.
Then, comb all the hair forward.
Using a good pair of curved shears, come in straight (no tilting!) and begin setting the visor length that we established earlier with the comb.
Now, if your puppy has a drop coat (meaning the hair tends to fall straight down), you’ll want to go over the top of their head, just above the ears, and create almost a dome shape.
This helps to blend the shorter hair from the clipper work with the longer hair on top.
Remember that one-inch guard comb we used?
We’re now using our scissors to essentially refine that initial length, creating a smooth transition.
Next, tilting your puppy’s head straight towards you, come right down into the neck and shoulder area to seamlessly blend everything together.
Gently hold any stray hair out of the way so you can clearly see what you need to tidy up.
It’s all about creating a smooth, natural flow of hair.
Isn’t it amazing how a little scissor work can transform their look? 🥰
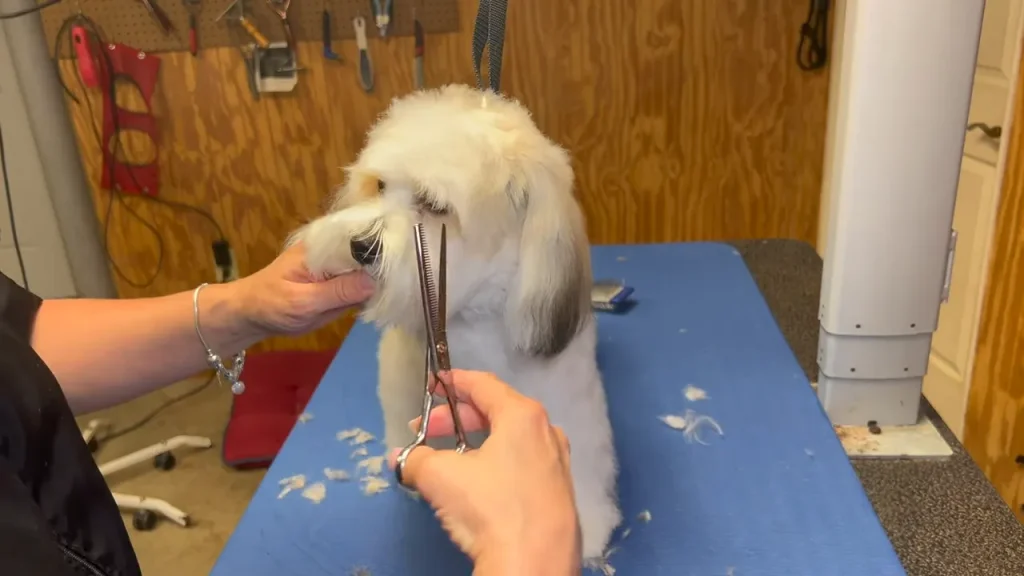
Shaping the Happy Beard and Jawline
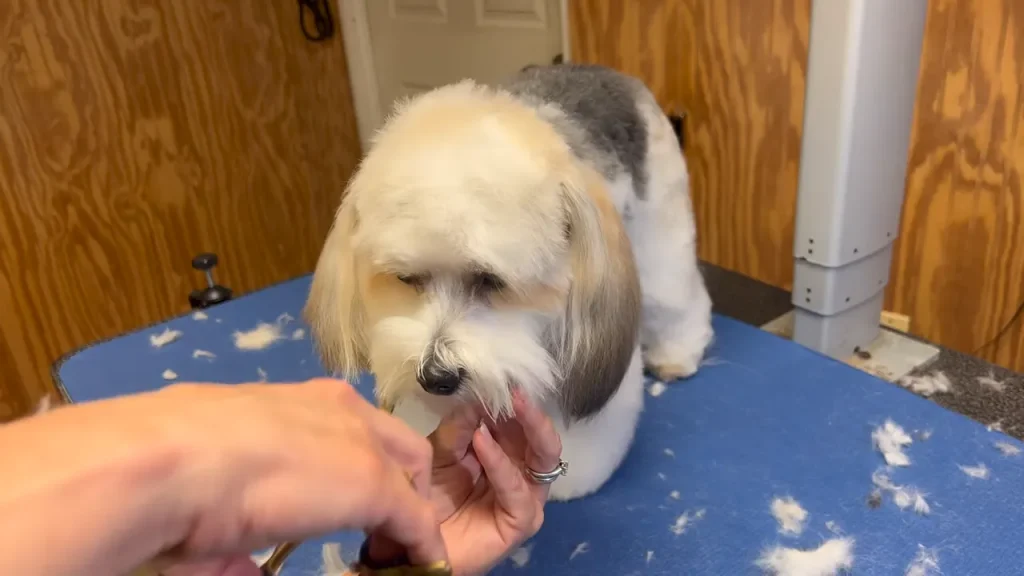
Let’s move on to shaping that adorable beard and jawline!
Using your scissors, gently angle the hair around their beard.
The goal here is to make them look a little happier… because we know they already are! 😊
We’re setting the outline, coming around and up, laying our scissor work right back into the ear to blend it all together.
Because many puppies have a drop coat, the hair often lays nicely, making the scissoring process a bit easier.
Follow that natural jawline, leaving a little bit of hair to fill in where needed.
We want everything to look even and balanced.
The Magic Touch of Blending Shears

Now for a groomer’s secret weapon: blending shears!
These are the key to softening any lines and achieving a truly professional finish.
After setting your initial outline with straight or curved shears, comb all the hair up and towards the front.
Take a good look and see if there are any areas that look a little harsh.
This is where the blending shears come in.
Using your blending shears, simply take the tips off any hair that might be creating a harsh line from your scissor work.
This is the easiest way to soften the entire look.
These shears work wonders on all coat types, helping to create a seamless and natural blend.
You could even do the entire trim with blending shears if you prefer a softer, less defined look.
It’s all about finding what works best for you and your furry friend! ✨
Final Flourishes: Perfecting the Ears
Find out more: https://www.youtube.com/@GoGroomer
Last but certainly not least, let’s talk about those precious puppy ears!
Before we start, it’s important to locate the ear leather.
You can do this by gently running your thumb down the ear until you feel the firm cartilage.
Everything below that is hair.
Our goal is to shorten the ears so that they are close to the length of your puppy’s muzzle.
With your puppy looking straight ahead, use your curved shears to set the initial length, making sure to look at it from all angles to ensure symmetry.
To help you get the ears even, you can make a small notch on each ear as a guide.
Then, continue rounding the edges with your curved shears.
Remember, you want a nice, round shape.
If there’s any hair sticking out over the beard that makes your puppy look a little less cheerful, gently bring it in.
We want them to look bouncy and happy! 🎉
You can even roll the ear up over your finger and trim any stray hairs that pop up.
And there you have it – a beautifully trimmed puppy face and head!
Give your furry friend a big hug and admire your handiwork! 🤗

13 responses to “Unlock the Secret to a Perfectly Groomed Puppy Face (Without the Pricey Salon!)”
buy enclomiphene retail price
buy cheap enclomiphene purchase in canada
kamagra livraison gratuite
sans ordonnance kamagra commander acheter en
Buy androxal on line no perscription
how to buy androxal generic india
how to buy dutasteride generic vs brand name
get dutasteride cheap usa
ordering flexeril cyclobenzaprine price dubai
purchase flexeril cyclobenzaprine uk online pharmacy
cheapest buy gabapentin overnight no rx
cheapest gabapentin online without prescription
canada fildena
order fildena generic release date
cheapest buy itraconazole buy online usa
itraconazole online without a perscription
get avodart cheap real
purchase avodart canada generic
cheap staxyn generic india
cheapest buy staxyn uk how to get
online order rifaximin usa where to buy
buy rifaximin price new zealand
order xifaxan canada fast shipping
xifaxan usa
jak získat předpis kamagra
kamagra online noční přepravní kód